Recently, Milk Bar announced they were selling a Chocolate Milk Bar Pie at their flagship stores. To which I said… yes please. However, since I don’t live near a flagship, I had to try and make it on my own! I haven’t made a milk bar pie in a while, and they’re always spectacular. Making it chocolate definitely can’t hurt.
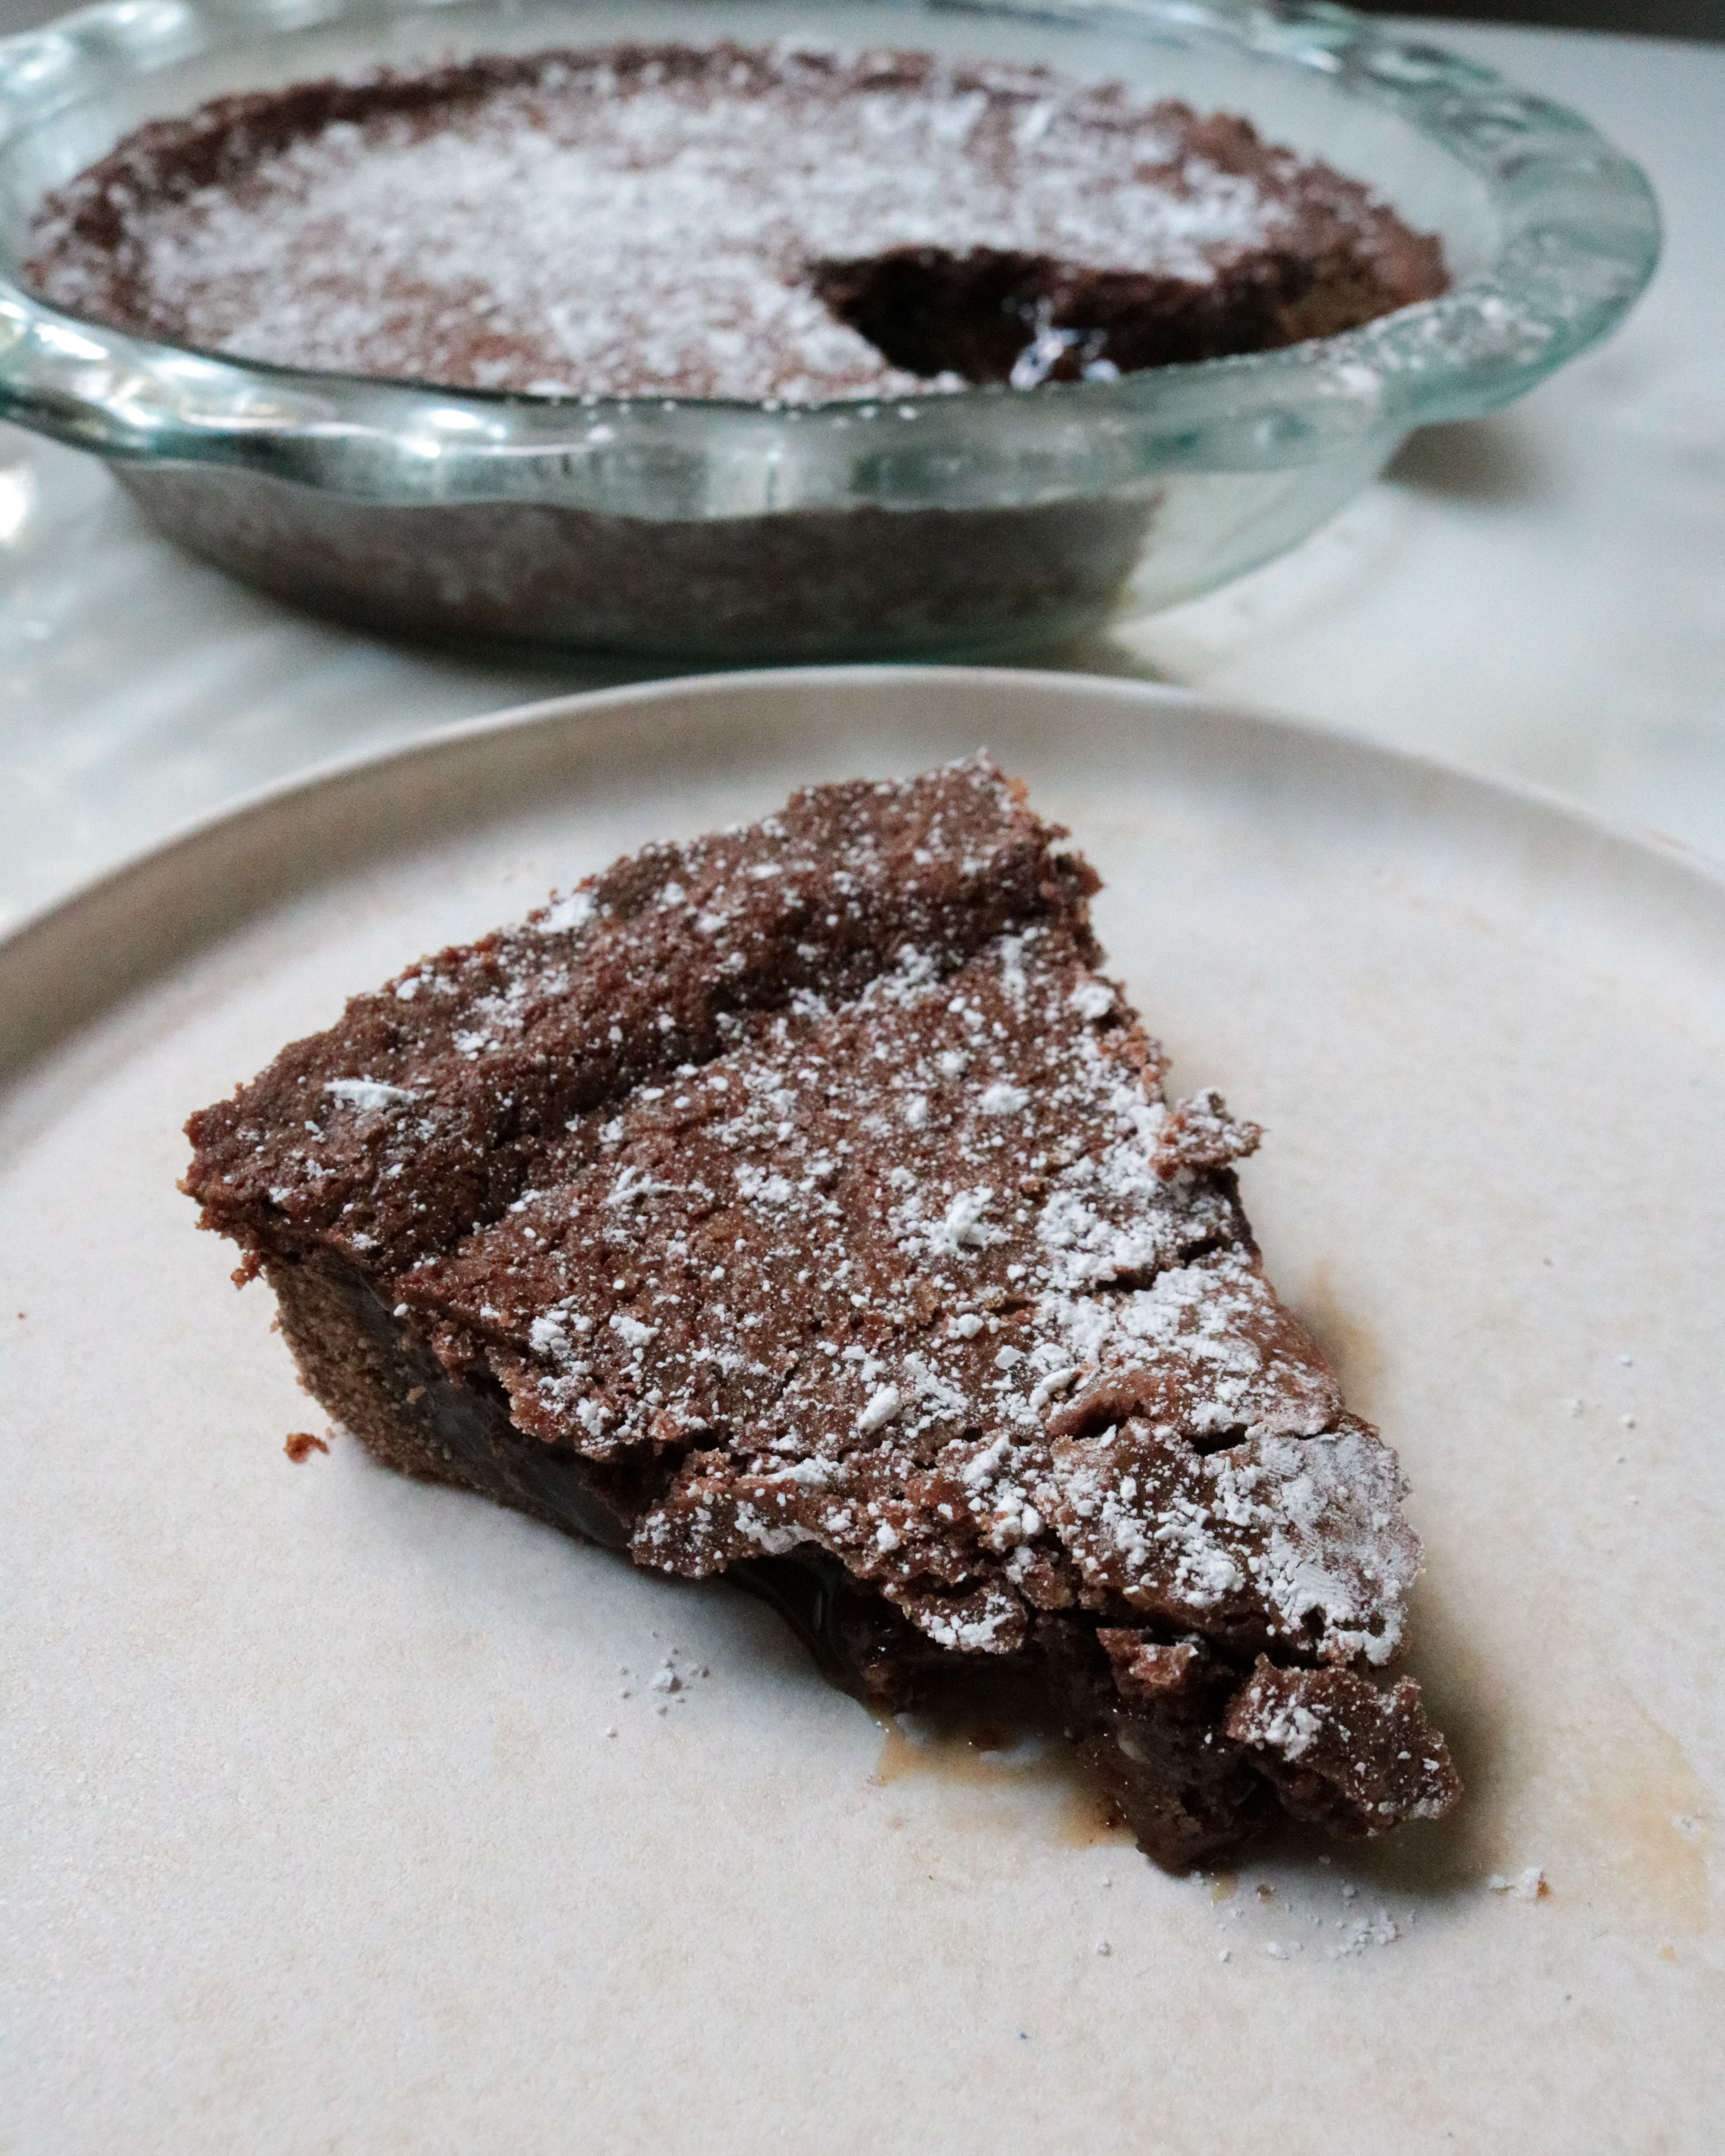
This has been on my list for a while, so when my sister and brother-in-law requested I bring a pie over to dinner, I knew immediately what to make. It’s good to have an excuse to bake some of the more extravagant desserts in my list.
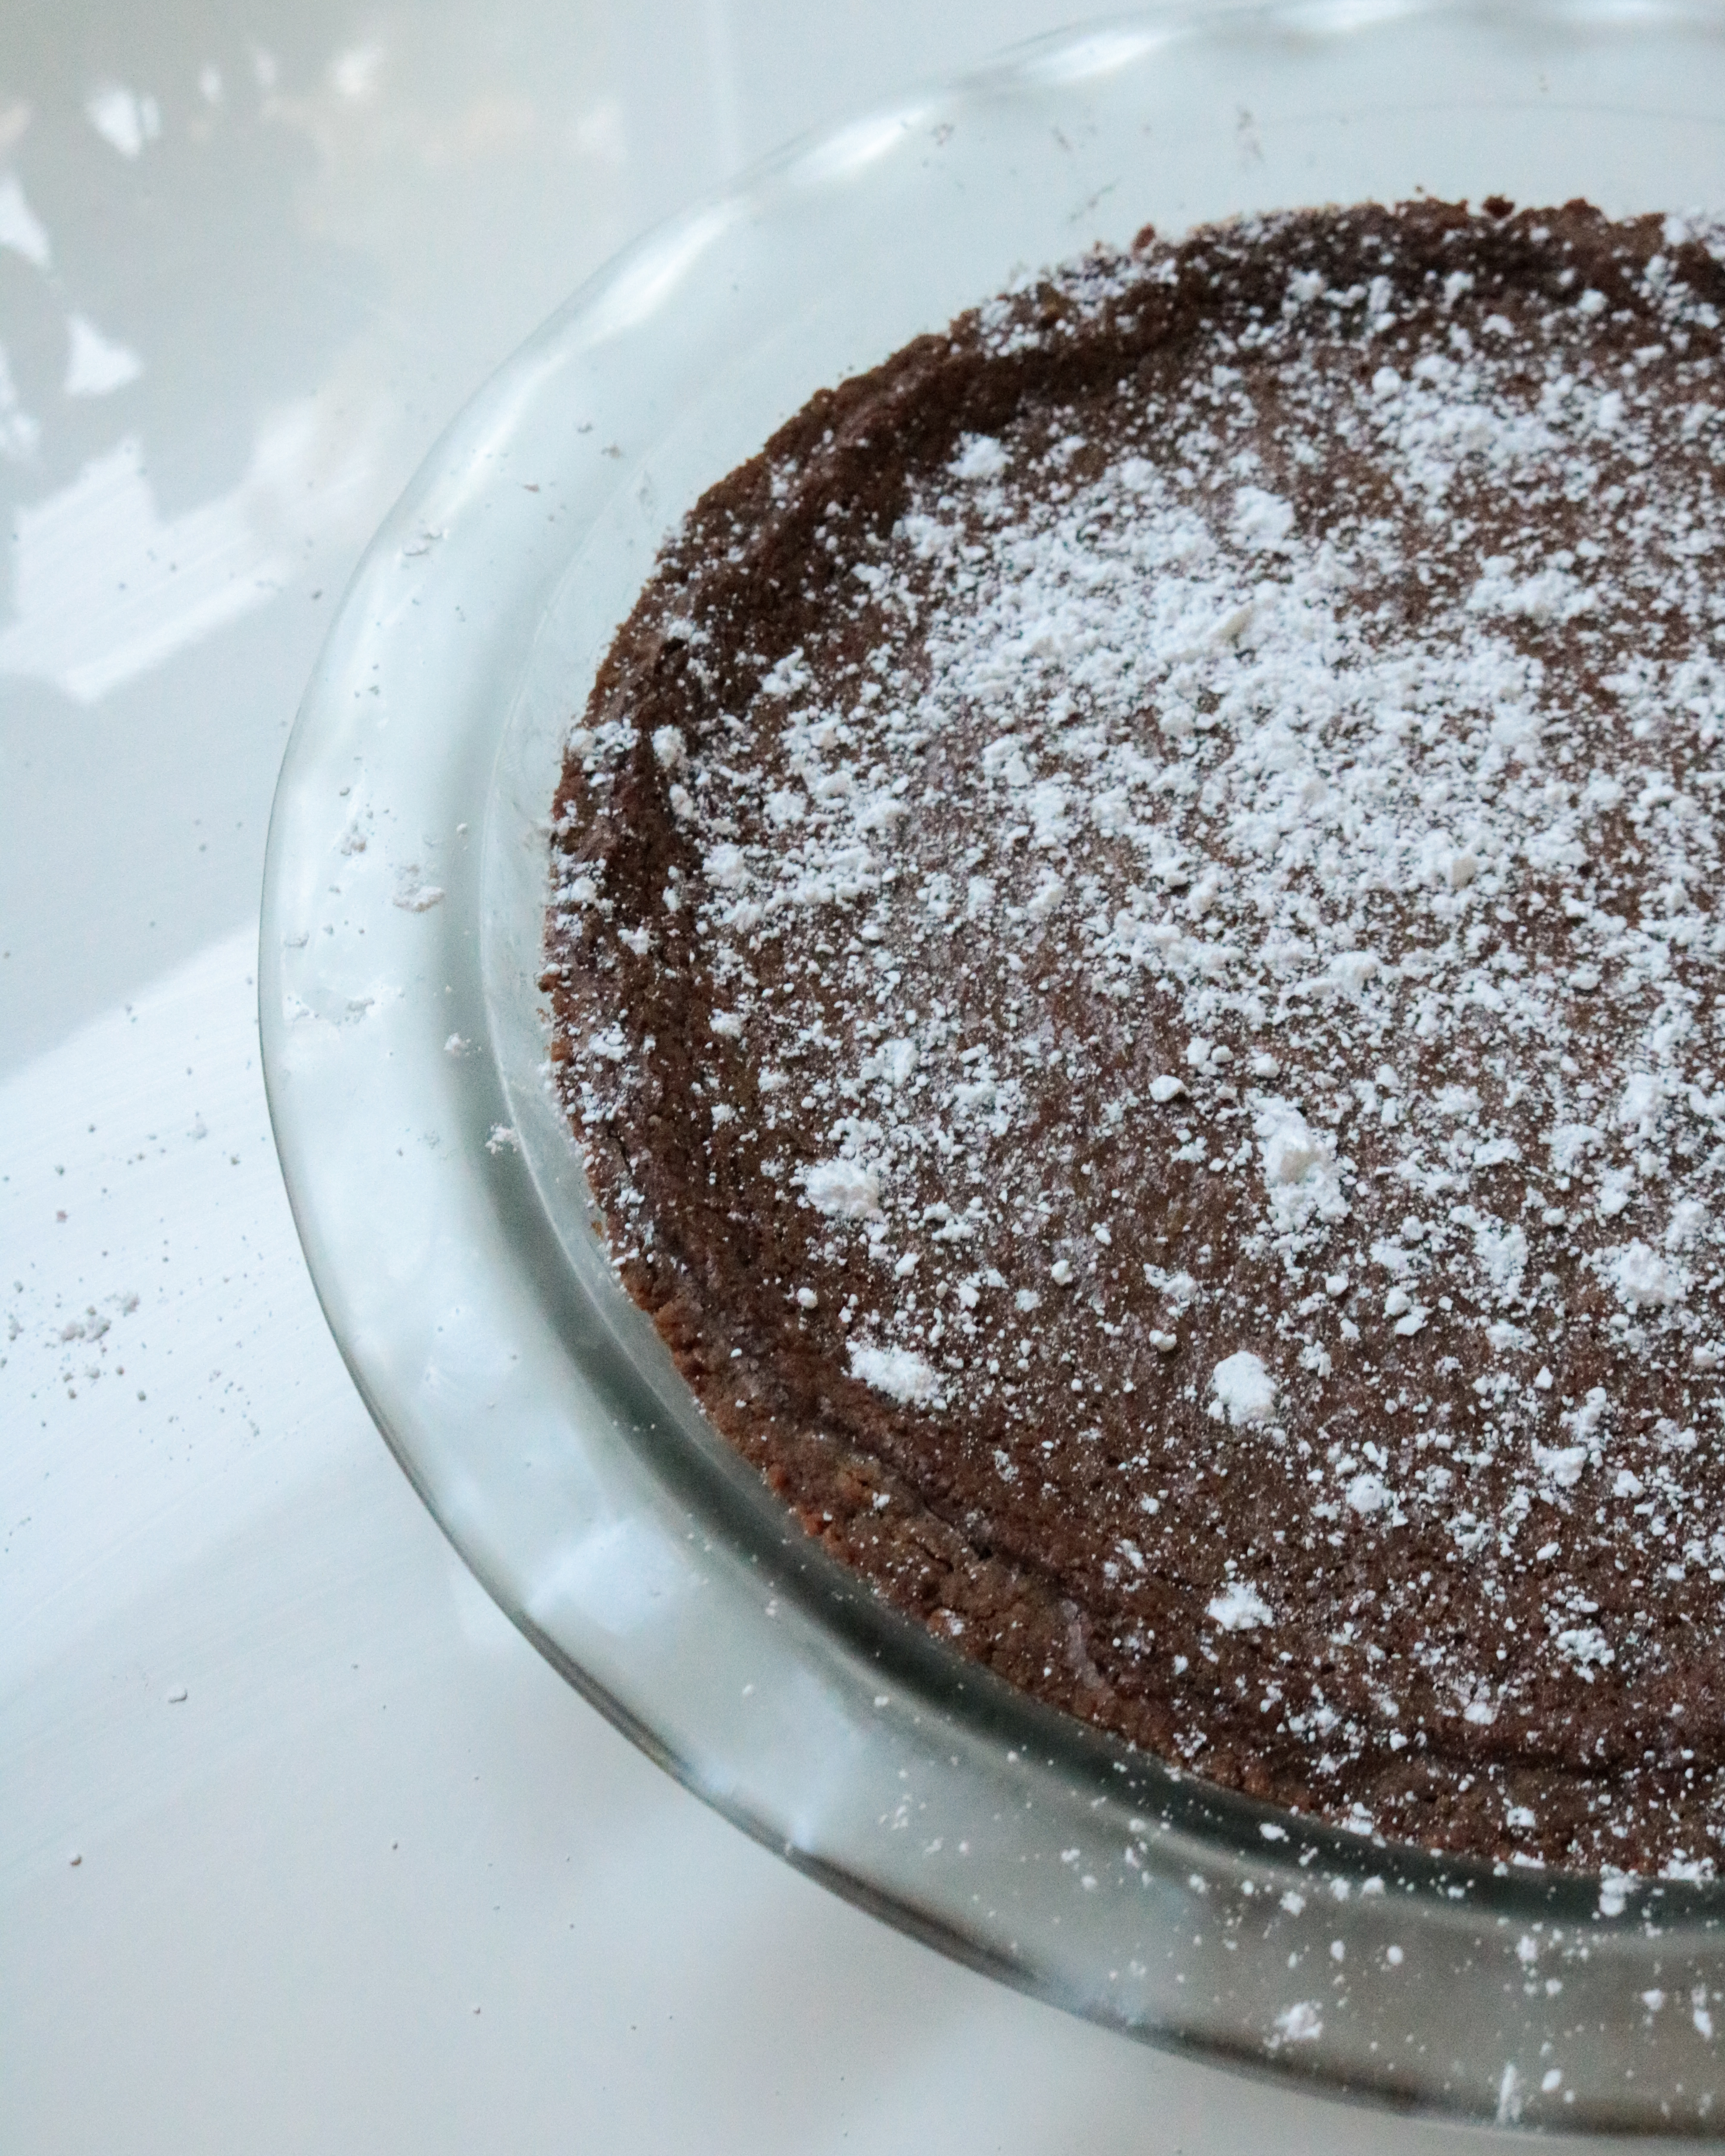
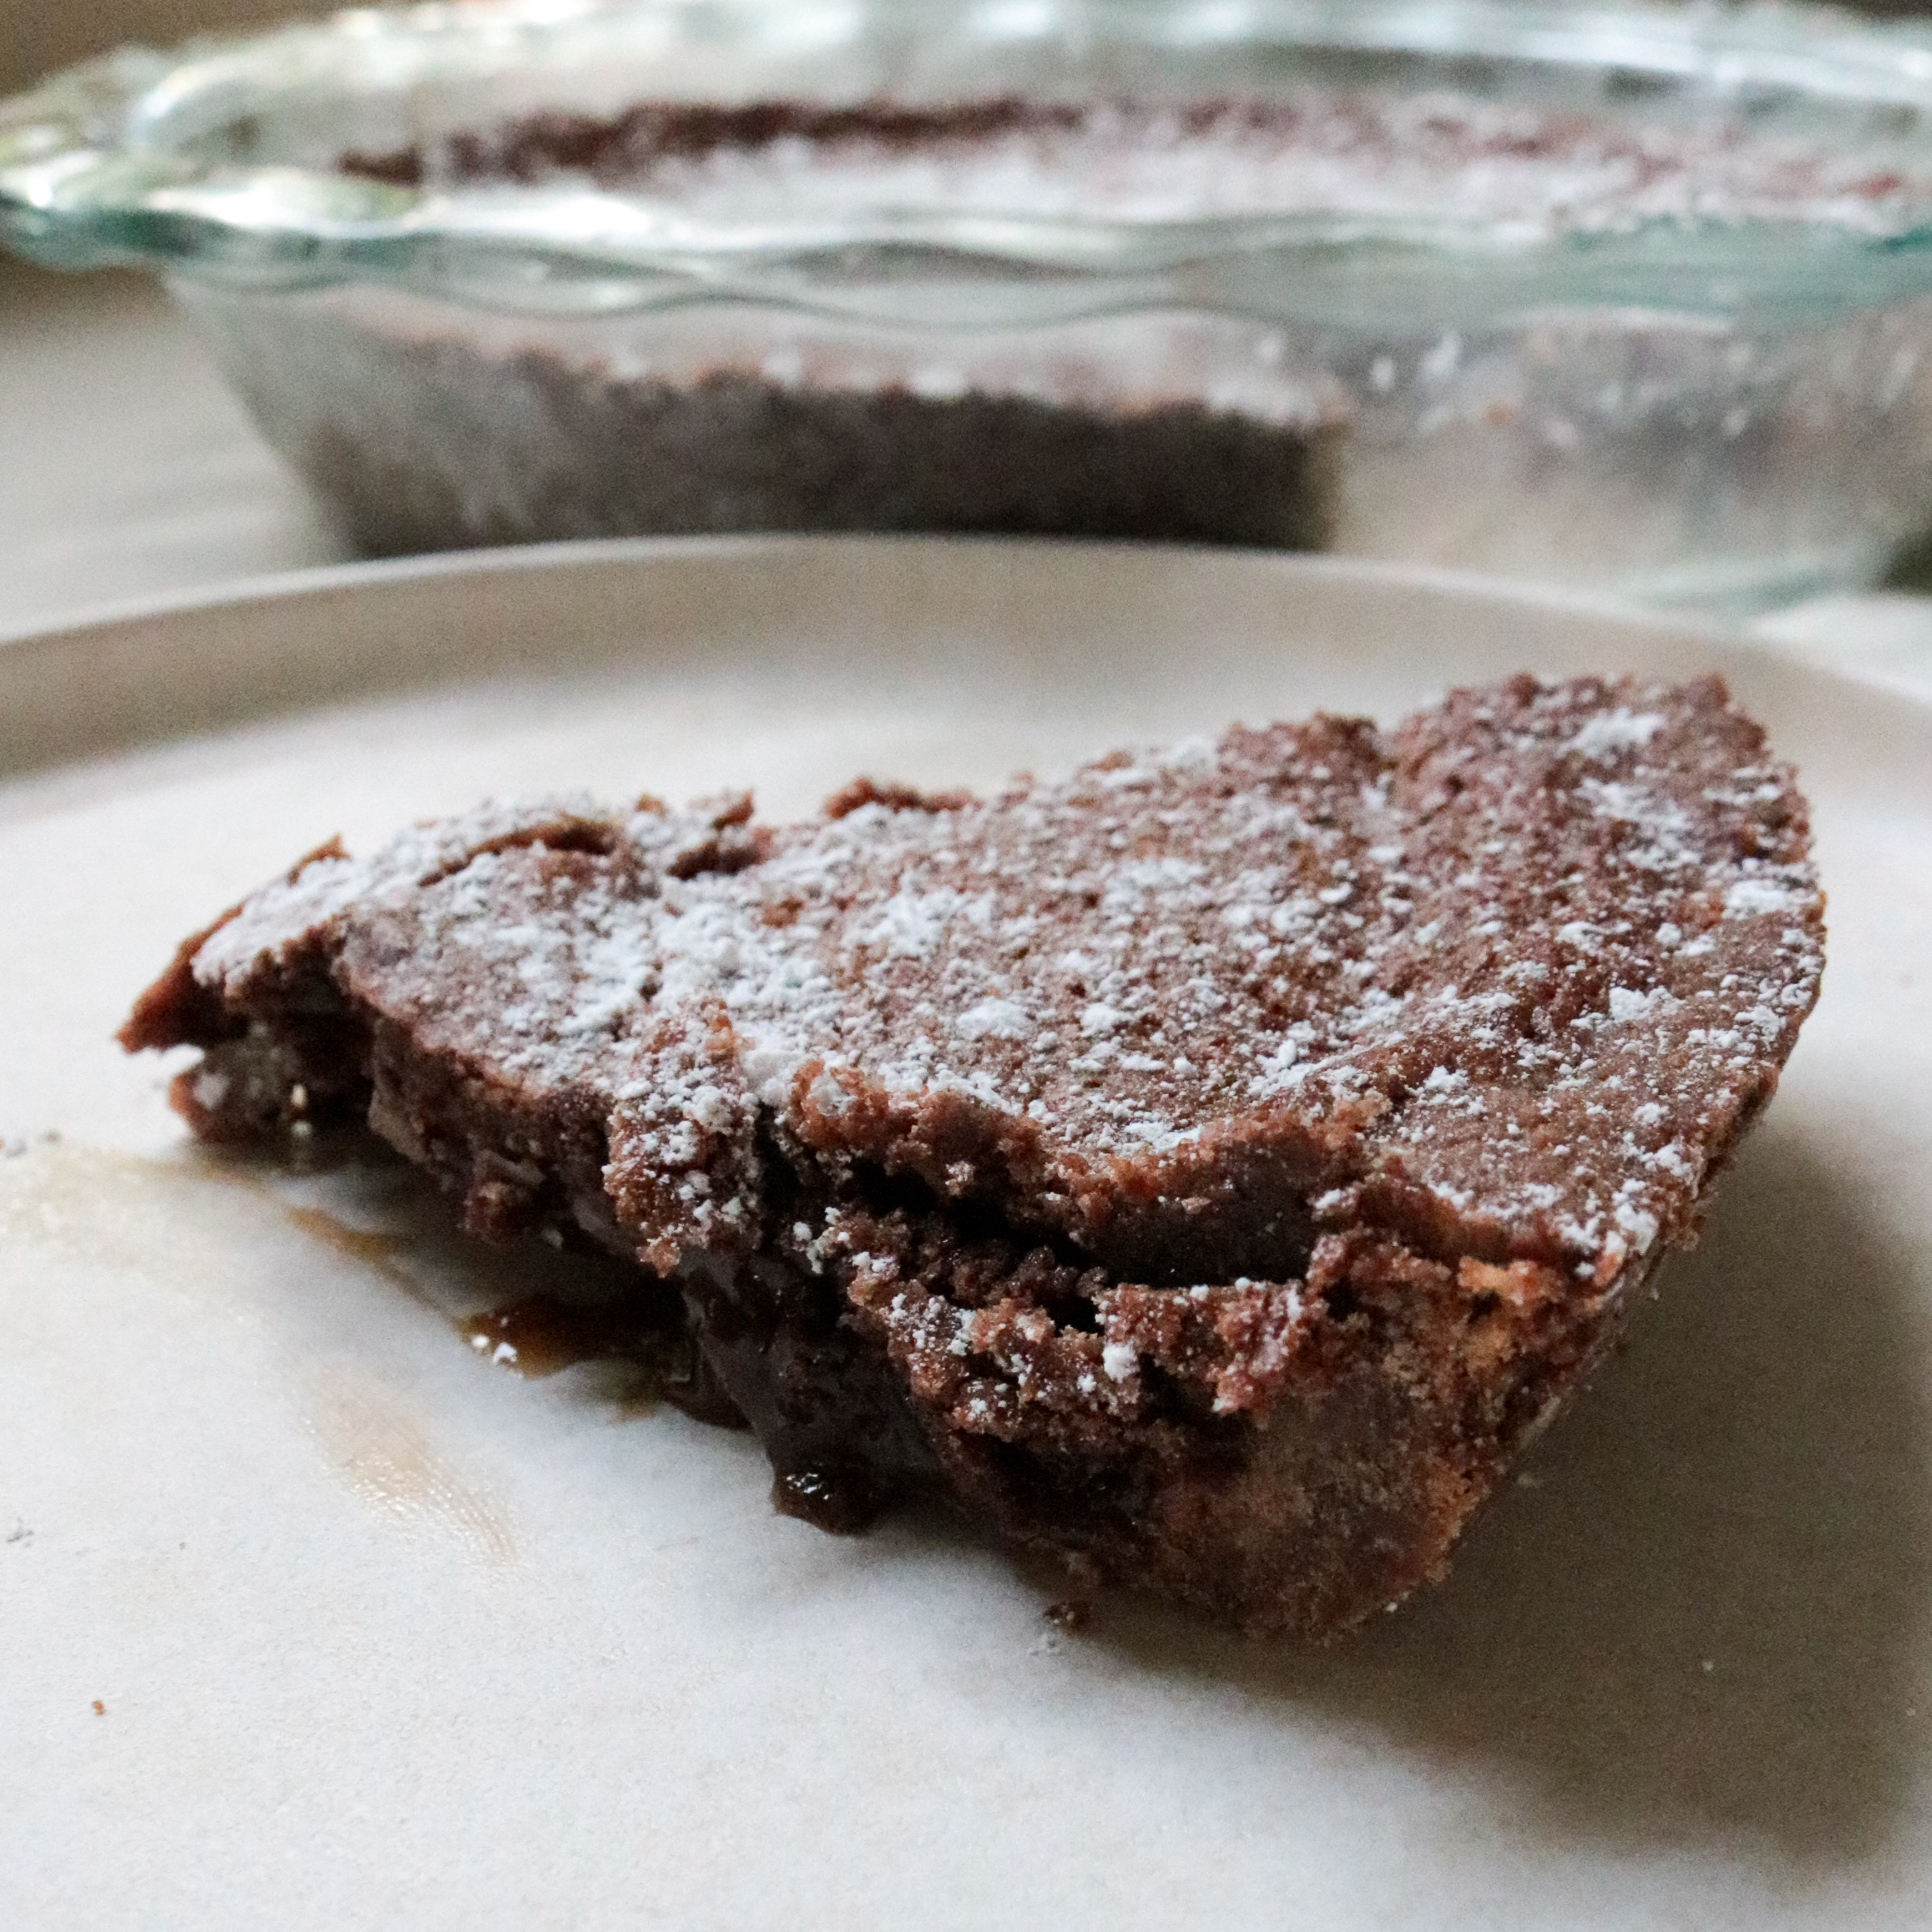
Mine looks slightly less glamorous than the Milk Bar press photos, I’ll admit. My chocolate chip cookie crust looks like chocolate because when I blitzed it in the food processor, the chocolate chips got incorporated. You could probably just add the chocolate chips separately, after food processing it, for the chocolate chip cookie effect.
This turned out more gooey than fudgey to me. It’s very close to the original milk bar pie texture, so maybe it’s correct. It’s just not the sort of chocolate you get from a brownie – and it’s not a brownie pie, so it makes sense! It’s like a caramelly sort of chocolate? Regardless… it’s delicious.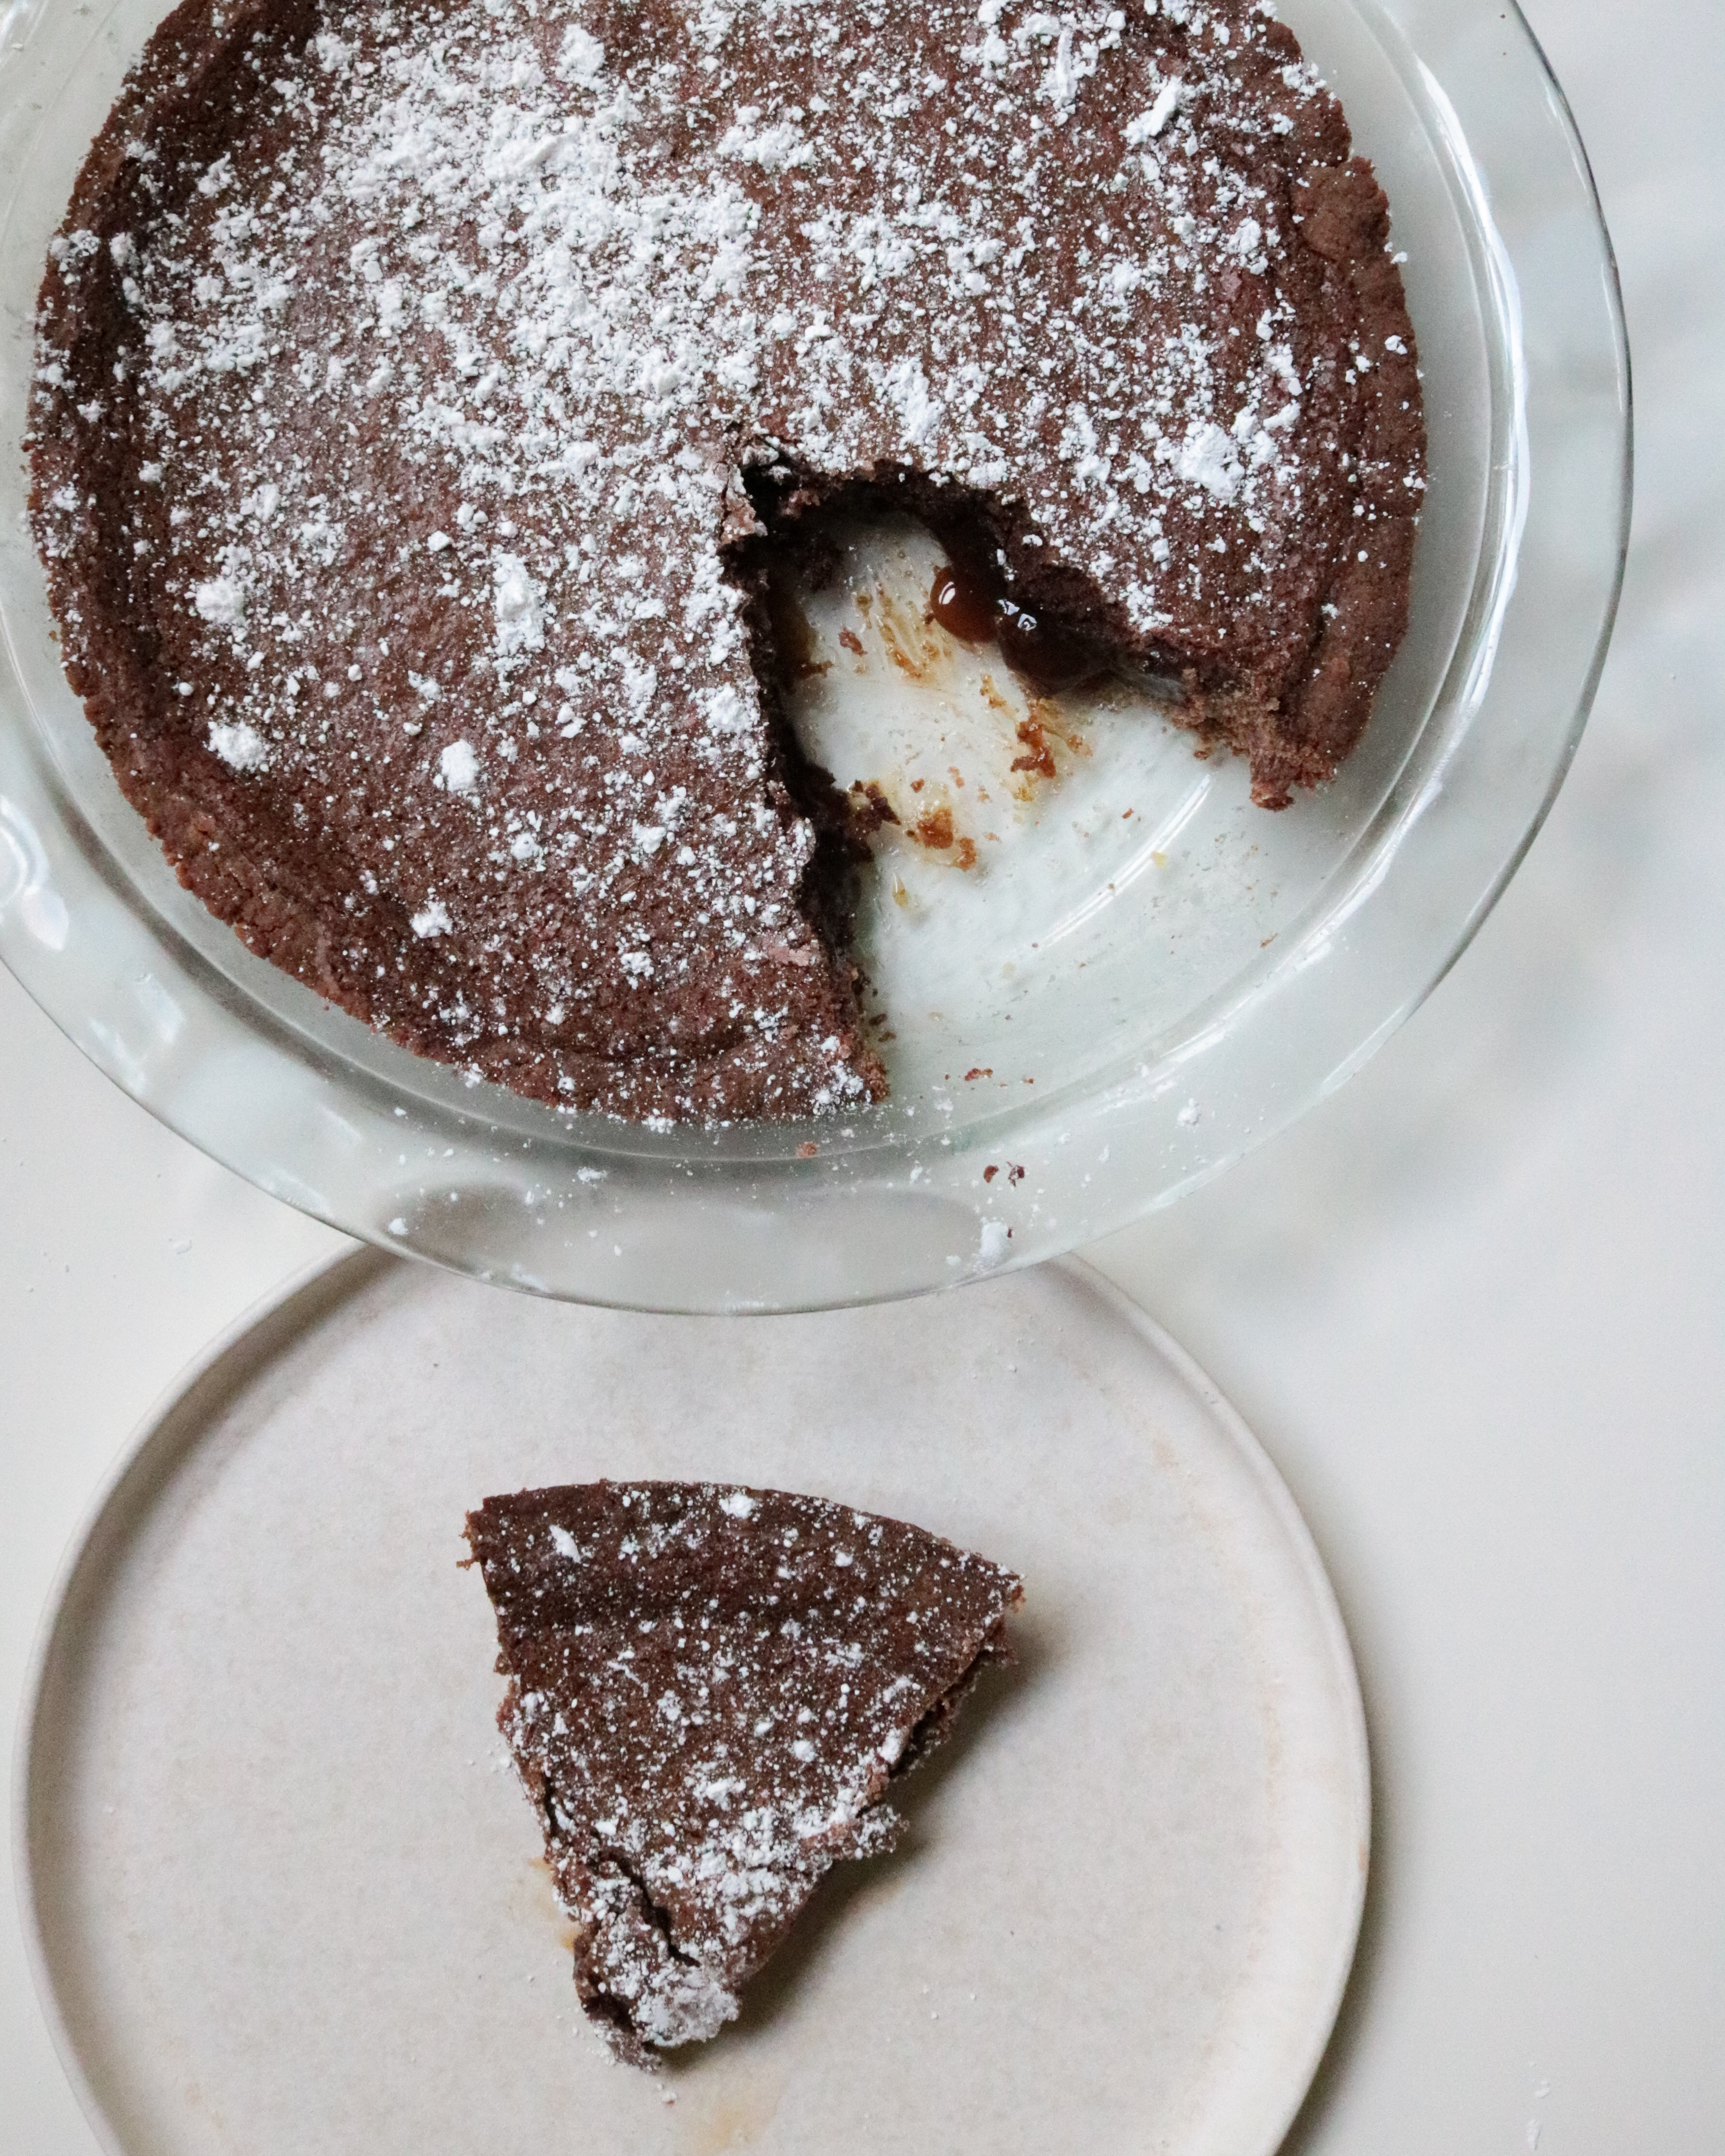
This is also a surprisingly easy recipe! It comes together very quickly, with no crazy techniques – just a mixer at low speed. If you really wanted to make it easy, you could use Chips Ahoy or other cookies for the crust. It’s impressive to me that one of Milk Bar’s most famous and seemingly complex desserts is actually incredibly easy to make!
Print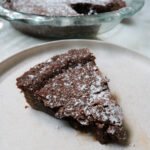
Chocolate Milk Bar Pie
- Array: Array
 Total Time: 0 hours
Ingredients
For the Chocolate Chip Cookie:
- 1/4 cup unsalted butter, room temp
- 3 tablespoons light brown sugar, packed
- 1.5 tbsp granulated sugar
- 1 large egg yolk
- 1 cup all-purpose flour
- 1/16 tsp baking powder (just a pinch)
- 1/16 tsp baking soda (just a pinch)
- 1/4 tsp kosher salt
- 1/2 cup mini chocolate chips
For the Crust:
- 1 recipe of the Chocolate Chip Cookie, prepared in part one of the recipe
- 1/2 tbsp light brown sugar, packed
- 1/8 tsp kosher salt
- 2 tbsp unsalted butter, melted
For the Pie Filling:
- 3/4 white sugar
- 1/4 cup + 2 tbsp light brown sugar
- 2 tbsp Ovaltine
- 2 tbsp cocoa powder
- 3/4 tsp kosher salt
- 1/2 cup unsalted butter (melted and cooled)
- 1/4 cup + 2 tbsp heavy cream
- 4 egg yolks
- 1/4 tsp vanilla extract
For the Chocolate Powdered Sugar Topping:
- Equal parts powdered sugar and cocoa powder
Instructions
To make the crust:
- Preheat the oven to 350F and line a large cookie sheet with parchment paper.
- Using a hand or stand mixer with the paddle attachment, mix together the butter and sugars. Mix on medium-high speed for 2-3 minutes until fluffy and pale.
- Scrape down the sides of the bowl and mix in the egg yolk on low speed. Increase to medium-high and beat for 1-2 minutes or until the sugar is fully dissolved and the mixture is pale yellow.
- On low speed, add in the flour, baking powder, baking soda, salt, and chocolate chips. Mix until it just comes together.
- As best as you can, spread the dough in an even layer on the parchment paper. It should be about 1/4 inch thick. It won’t cover the entire pan. It’ll just look like a big cookie blob.
- Bake for 15 minutes or until it has golden brown edges and a dull top. Cool completely before using. If you’re making it ahead, you can crumble it up into an air-tight container and store in the fridge. It will keep up to 1 week.
- After the cookie has cooled, crumble it up into a food processor along with the brown sugar and salt. Pulse until it resembles wet sand. In Christina’s recipe, she says that if you don’t have a food processor, to “fake it till you make it and crumble the oat cookie diligently with your hands.”
- Transfer the crumbs to a bowl and add the melted butter. Feel free to use your hands to fully incorporate it. It should be wet enough to where it can form a ball. If it doesn’t, add 1 to 1 1/2 tablespoons of butter at a time until you get there.
- Press the crust firmly into your 10 inch pie pan to make sure the bottom and edges are covered.
To make the filling:
- Combine the sugar, brown sugar, ovaltine, cocoa powder, and salt in the bowl of a stand mixer fitted with the paddle attachment and mix on low speed until evenly blended.
- Add the melted butter and paddle for 2 to 3 minutes until all the dry ingredients are moist.
- Add the heavy cream and vanilla and continue mixing on low for 2 to 3 minutes until any white streaks from the cream have completely disappeared into the mixture. Scrape down the sides of the bowl with a spatula.
- Add the egg yolks, paddling them into the mixture just to combine; be careful not to aerate the mixture, but be certain the mixture is glossy and homogeneous. Mix on low speed until it is.
- Use the filling right away, or store it in an airtight container in the fridge for up to 1 week.
Bake the pie:
- Pour the filling into the prepared pie crust. It should be 3/4 of the way full.
- Bake at 350 degrees for 15 minutes. Then open the oven door and reduce your temperature to 325F. When your oven reaches that temperature, close the door and bake the pie for another 5 minutes. It should be a little jiggly in the very center of the pie but not on the edges. If it’s still too jiggly, leave them in for an additional 5 minutes.
- Take the pie out of the oven and transfer to a cooking rack. Then freeze your pie for at least 3 hours or overnight. This is what gives you that dense center. Transfer to the refrigerator to thaw for at least 1 hour before serving. Serve cold.
- Dust your mixture of powdered sugar and cocoa powder all over the top.